Paper and Fiber Arts


Welcome to my mixed media blog. Thanks for stopping by.

Saturday, March 31, 2012

Organizing Stamps - Again! Downloadable List Posted

Table of Contents for My Stamp Catalog
I have been doing an 8 week organizational challenge with a bunch of other scrapbookers and stampers.  In a couple of weeks, we are going to have to catalog and organize our stamps and punches.  My stamps are fairly tidy because I have them put away.  However, they aren't really "organized".  I have no affiliation with thescraprack.com, other than as a customer and a participant in the challenge, but that is where I got the information about How to catalog the stamps once they are put away.
Stamp Catalog Table of Contents Page Two
Many years ago, I made a catalog of my wood mounted stamps.  I never used it and didn't keep up with it.  Finding the stamp I was looking for was always a time consuming endeavor and I often thought I should update the catalog.  About half my stamps are acrylic now.  It was time to get a handle on what I have.  It is important to me that I use my supplies, not just collect them!  So the first step was analyze what kinds of stamps I have and make a table of contents for the catalog.
First Page of Stamped Images In Stamp Inventory Catalog
The stamps will eventually all be stamped and cross-categoried into the catalog in their respective areas. I am very visual, so I decided to stamp each category/theme on a different color of paper.  I used a strip of that paper as part of my contents list so it would be easier to find in the Work In Progress album (CTMH) that will house my catalog.
Letters, Numbers, Punctuation Category
Some of the theme ideas came directly from Tiffany Spaulding of The Scraprack.  She suggests sorting things with the calendar in mind.  For example, any stamps related to Independence Day would be found under the July category. This eliminated my Patriotic category.

I revised my categories several times as I started stamping out the images.  There are people participating in the challenge who scan in their images instead of stamp them. This is a great idea and looks awesome!  Unfortunately, that doesn't really work for me because I do not have a large format printer and am using a 12 x 12 album. Also, I hate scanning.
12 x 12 Stamp Catalog - Words Page
Each stamp set is assigned a number based on where it is located.  It doesn't matter what theme or category it falls into.  This is good for a number of reasons. If you add to your collection, you don't need to rearrange everything to add in the new stamps.  Some stamp sets can fall into more than one category so you don't have to decide with which one to store it. If you have other people who use your stamps, they do not need to try to figure out where to return it to.  The system works for whatever storage system you use.  I have my wood mounted stamps on shelves so they will be labeled according to the shelf they are on.
Sticky Labels Indicate Stamp Location
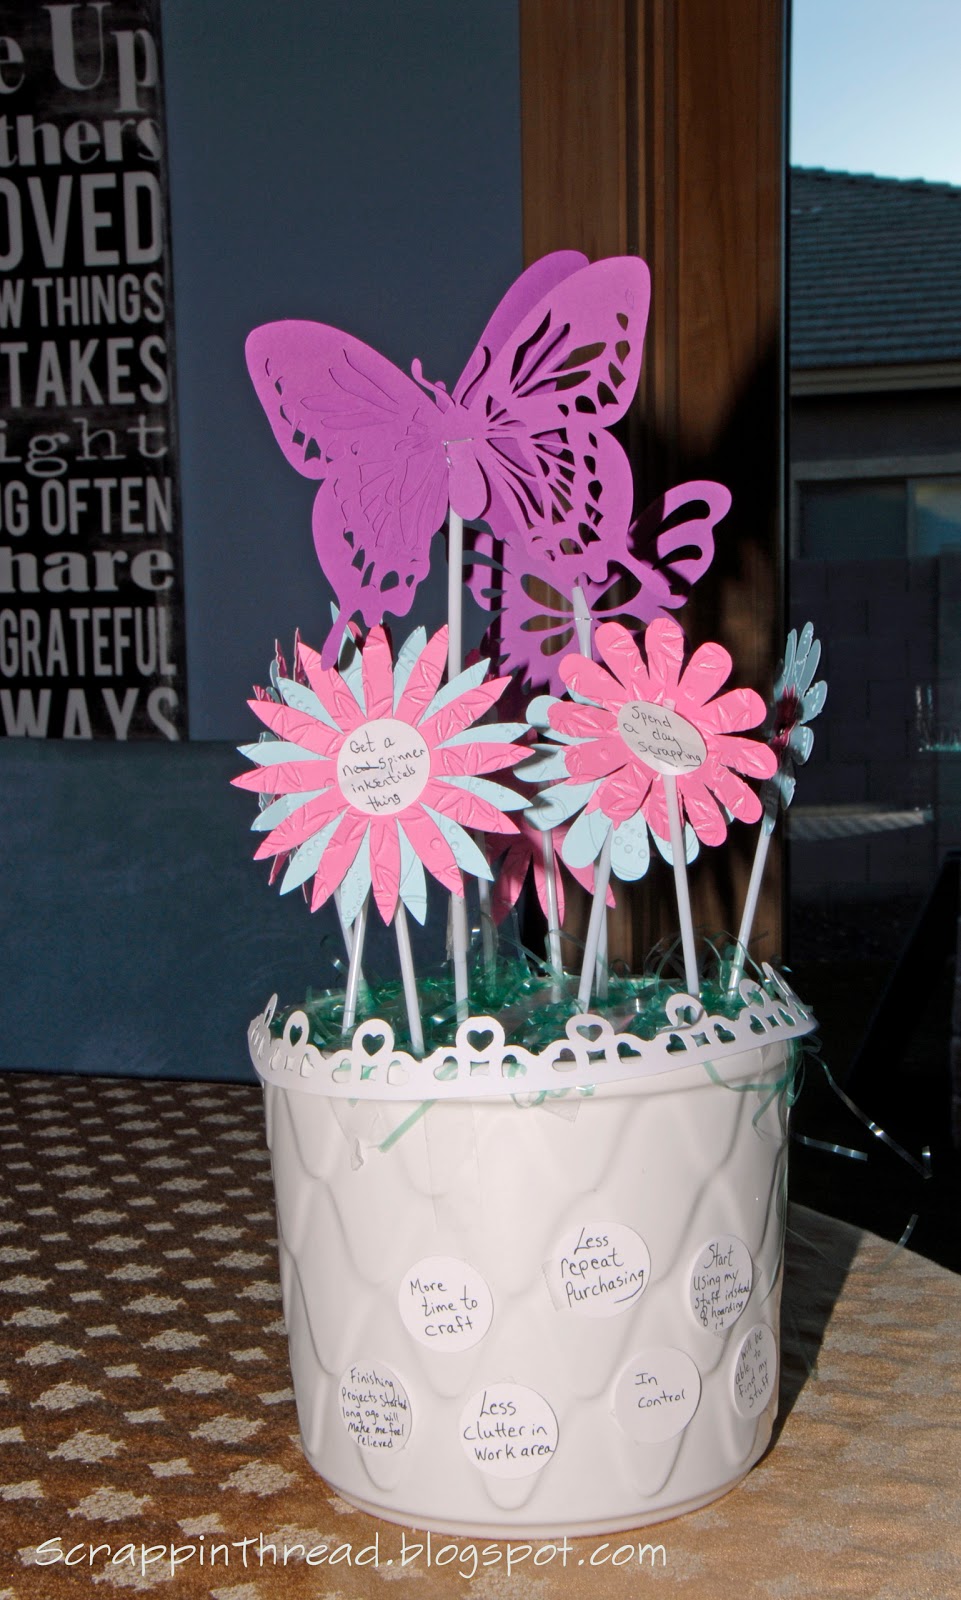
Being organized makes me feel more in control of my workspace.  Consequently, it makes me more efficient in getting projects done.  This has been a BIG undertaking, and I am not done with it.  It is a good start though and I am loving my new Catalog! When the challenge for the week is to work on stamps and punches, I will have a plan already in place so I can meet my goals. :-)
4-Pocket Scraprack Pages Used to Store CTMH Stamps
Below is a downloadable list of themes that I used for the stamps that I own.  After working with the stamps, I consolidated several categories but I left them on this list in case anyone might find them to be useful.

Have an amazing day!
Beverly

Tuesday, March 27, 2012

Frosted Designs Tuesday Card Sketch #15

Digi Doodle Shop Digital Stamp Image

Card Sketch by Ann Bacon
Welcome to the Fifteenth Frosted Designs Card Sketch Challenge!  Please visit FrostedDesigns.blogspot.com to view the other designer's cards made with Ann Bacon's sketch.  Then please link up your own card to be eligible for the prize sponsored by DigiDoodleShop.com.

Vintage Sewing Machine Digital Stamp Colored With Copic Markers
I turned the sketch 90 degrees and framed the image with a paper doily that I made from a photo-corner punch.  After creating the die-cut I spritzed with Studio Calico's Clay Mister Huey and added a bunch of little CTMH pearl adhesives. The papers behind the image are from Prima Marketing and Kaiser Craft.
Fabric Paper Rose Layered on Flower Layered on Buttons
There are a lot of layers in this card!  It is a bold image but I wanted to soften it because of the era of the treadle machines.  I chose soft colors for the quilt and then matched the papers to fit.  It would have been smarter to find papers first and then color, but I got carried away coloring so I forgot my plan!

Thank you so much for visiting my blog today!
Beverly

Sunday, March 25, 2012

Making Paper Doilies With Punches

EK Success Corner Punch In Action
Create your own doilies for scrapbook layouts and cardmaking out of any paper in your stash!

Here is a tutorial video showing a variety of corner punches and the results of punching the same size circle with the various punches that are pictured below. The Martha Stewart Topiary Corner Punch is the one used for the instructional part of the video.


If you prefer written instructions, instead of videos, please scroll down to the bottom of the post to see some suggestions about this technique.

Posted below are the various Martha Stewart Punch Around the Page Corner Punches that I have used and their corresponding doilies:
Martha Stewart Double Arches

MS Doily Lace Corner Punch

MS Double Loops Corner Punch

MS Flower Shower Punch

MS Heart Chain Corner Punch

MS Loops Edge Corner Punch

MS Spider Web Punch Around The Page Corner Punch
MS Topiary Corner Punch

 I don't have the SU! Corner Punches posted here because I am uncertain of their names. I have had them for many years and do not know whether or not they are still available.  Please leave me a comment to let me know if you try this.  :-)  If you try this technique with any corner punches that are not posted here, I would love to see your results!

Here is an example of how I used the Spider Web doily.  The center of it was cut out using the MS Large Circle cutter after punching the shape around the perimeter of the circle.
From this:
Plain CTMH White Daisy Cardstock
To this:
Kraft Base, Black Painted Burlap, Spider Web Doily, Flip Flap to see Original Writing on Back of Photo 
There are more pictures of this layout here.

And here is the Loops Doily with the center removed:
Mister Huey Clay and Blue On Cutout Doily Shape
Original post for this layout is here.

Written instructions:
Flip the corner punch over to see where to line up the punch. The picture at the very top of the post shows the back side lined up near the edge of the paper. Punch around the edge of the circle slightly overlapping the previous punched area.  If your punching doesn't end up exactly matched up, you can place an embellishment at that spot. :-)
If you are mathematically inclined, you could measure the perimeter of the circle and figure out whether the punch is the correct size to end up exactly evenly given the circumference to punch size ratio.  Punches vary in size and everyone punches a little differently, so I have no specific guidelines for this.  Just a little observation though, the smaller the circle, the more noticeable a gap may be.

Thank you so much for stopping by today!
Beverly

Saturday, March 24, 2012

Spring Cleaning!

 Sometimes it seems like I spend more time organizing my craft supplies than I do actually using them!  A few weeks ago I decided that I needed to catalog my stamp collection. Again.  Yep. Been there. Done that.  Now  I am voluntarily doing it again.  What is wrong with me, you may wonder?  My last cataloging system was when all of my stamps were wood mounted.  Now I have a fairly extensive (my dh would say excessive) acrylic collection.
There are a few reasons why I am making a new stamp catalog/inventory.  I need to be able to find them a little faster when I do get a chance to stamp so I am not wasting time rummaging through set after set. It would be nice to have a list of what I own in case we ever have another flood in our basement and need to file an insurance claim. (We didn't file one last time and I have been told that I should have.... but really, who would believe that I have THAT MUCH stuff if I just Told them the amount!)  And the last reason is because it helps me be a better (read, not-duplicate) shopper.

Spend A Day Scrapping!  Is One of My Rewards

So at this point you may be wondering what is with the flower pot and the paper flowers?  Once I decided to organize my stamps, the idea snowballed into organizing all of my scrapbooking/stamping supplies.  Again.

I knew I needed help and knew that the woman who owns The Scraprack company (Tiffany Spaulding) is an organizational goddess.  Lo and behold she is currently holding an 8 Week Spring Cleaning Challenge!  I signed up immediately (it is free) and listened to the live broadcast last Monday.  Here is more info on the challenge if you are curious. You don't have to own a Scraprack to participate.  I bought some of the organizational pockets a few years ago, but I don't have a Scraprack.

Part of the first week's homework is to make a Benefits/Rewards poster to hang up so you have a constant reminder about why you are going through such an ordeal and to reward yourself each step of the way.
Well, I don't have much wall space, so I made a flower pot Benefits/Reward reminder instead.

Next week's challenge with Tiffany is organizing paper.  I can't wait!

Hope you are all having a fabulous weekend!
Beverly

Halloween 1982 Layout With Black Painted Burlap

This layout is totally different then the kind I normally do.  First of all there are NO flowers!  Also, it is dark and there aren't many components to it.
Stamped Images on Punched Doily Circle
However, in person it really does look pretty cool.  There is a lot of texture - real and faux.
There is only one photograph on the page and I didn't want to permanently adhere it because I wanted to  be able to see my dear friend's silly message that she wrote on the back nearly 30 years ago! It can be flipped up as it is only attached at the top.

Photograph Mounted In CTMH Flip Flap for 4 x6 Pictures
I love Martha Stewart's Around the Page Punches and used the Spider Web corner one to make a large doily for this layout.  I cut out the center of the doily to frame the picture mounted on black mulberry paper and the black painted burlap underneath.
CTMH Felt Bird From Midnight Shapes
The burlap came from JoAnn's.  I painted it with acrylic paint which helped to stiffen it a bit.  To adhere it to the page and to adhere things to it, I used a combination of CTMH Liquid Glass and the ATG tape runner.

12 x 12 Halloween Layout
Both the White Daisy doily and the CTMH Kraft paper base were spritzed with Studio Calico's Mister Huey's Classic Calico color.  All papers are from Close to My Heart.  The twine came from Hobby Lobby.

Thank you so much for visiting!
Beverly

Wednesday, March 21, 2012

Sisters

My sisters live about 1,800 miles away from where I live so we don't see each other very often.  They visit each other more frequently because they are about 300 miles apart.  I am always happy to hear about their visits with each other, but am sorry to not be able to spend more time with them. It is important to me to scrapbook the few photos I have of us together so that I can remember those precious times.

The picture in this layout was taken before my little sister (now 44 years old) was born.  My dad took this picture of my two older sisters and I in the courtyard of married student housing where we lived. I love it because it shows us getting along!
Sewing around the tag pocket
Blue is one of my favorite colors.  It seemed like it would work nicely with the old black and white photo.  Before using this original photo, I scanned it for my digital files.  I decided to go ahead and scrap it - damaged as it was, because if I wait to learn how to repair old photos in Photoshop, it will probably never get scrapped.

12 x 12 Layout with a 10 1/2" Doily Punched with MS Loops Corner Punch 
Papers are all CTMH.  The fibers and trims are retired from CTMH, except for the white baker's twine, which is a current product.  The other ribbons are from May Arts. "Smile" is from Heidi Swapp.  Cork star colored with Moonstruck marker - both CTMH.  The small doily was purchased in the cake decorating section of Hobby Lobby.  The crochet butterfly is a Martha Stewart sticker.

The large circular shape was a 10 3/4" white circle cut with a punch to make a doily.  I then removed about an 8 inch circle in the center. This was then spritzed with Studio Calico's Mister Huey Clay and Bonny Blue.  I wanted to have a 'damaged' look to the large circle to match the damaged photograph.  Weird, maybe, but that is how my mind works. :-)

On Sunday, I will have a tutorial posted on my blog showing how to make punched doilies.

Thank you for visiting today!  
Hugs, 
Beverly

Monday, March 19, 2012

Cruisin' Cards

CTMH Cruisin' B & T Duos Paper
 Hi Blog Friends!  It has been almost a week since I last posted.  It is for all good reasons, though.  My dd1 was home on Spring Break and we had a nice, though too short, visit.  I miss her.  The card pictured above will go in the mail for her tomorrow.
Cricut Art Philosophy Shape 2 with Stamped Image and Chipboard Dimensional Element
 While the paper packet was out, I decided to make a couple other very easy and simple to assemble cards.  These are all standard 5 1/2" x 4 1/4" cards.  The background patterned papers were all cut at 5 1/4" x 4" so that the White Daisy card base would frame them. On all of them, I used baker's twine.  It is a fun and quick embellishment.  And so cool that the colors match the paper exactly!

Lagoon and Black Baker's Twine With Cranberry Brads and  White Eyelets
 The Dimensional Elements (chipboard) pieces are cut to match the stamp image shapes from the Art Philosophy Cartridge.  I cut the black cardstock shape a quarter inch bigger with the Cricut to act as a frame/base for the image.
CTMH Grey Wool Bakers Twine Tied Around Background Cruisin' B & T Map Paper
 The three different patterned papers pictured on the cards are all double sided.  None of the reverse sides were used on these cards.  One has a beautiful grey pattern, one is filled with Scrabble pieces, and the third is a black base with swirly lines in different complementary colors that match the fronts.
CTMH Bottlecap and Classmate Alphabet Stamped Image
Thank you for stopping by today!  Have a wonderful day!
Hugs, Beverly

Tuesday, March 13, 2012

CTMH A Tree Notecard Gift Set

Cardstock Gift Box Cut With Cricut Art Philosophy Cartridge
This gift box holds 6 cards and envelopes.  The card pictured below is 5 1/2" x 4 1/4", which gives an idea as to the size of the closed box.
Standard Sized Card in Front of Gift Box
This card was stamped with A Tree in black ink on a white base. The Sky cardstock tree was popped up and offset a bit to create a shadow effect.  It was stamped with Versamark and embossed with a sparkly powder that has been in my stash for over 10 years.
CTMH Flower Brads Adorned with Bitty Sparkles
The petal box is cut using the first image and the Shift/Font Layer at the largest size possible on the 12 x 12 mat. This is the shape on page 21 in the guide book for the AP Cartridge.  It is such an easy box to assemble and looks so elegant.
Petal Box Cut at 11" - Assembled
To keep the sides from falling down/apart, I used red-liner tape on the four small inside tabs.  That stuff is very powerful!  The envelopes were all cut out of a lighter weight (retired) B & T patterned paper at 4 1/2". The envelope is on page 29.  It also is a Shift/Font Layer cut.
Six 4 1/2" Square Envelopes and Six 4 1/4" Square Cards Fit Securely Inside
Each of the notecards was stamped using the A Tree set.  Some of the cards were embossed.
CTMH Silver Embossing Powder on Sky Cardstock

White Embossing Powder on Black Cardstock Colored with Pencils

Black Embossing Powder on Sky Cardstock

Black on Sky

White Embossing and Black Archival on Sky

Black Archival on White and White Embossing on Black